
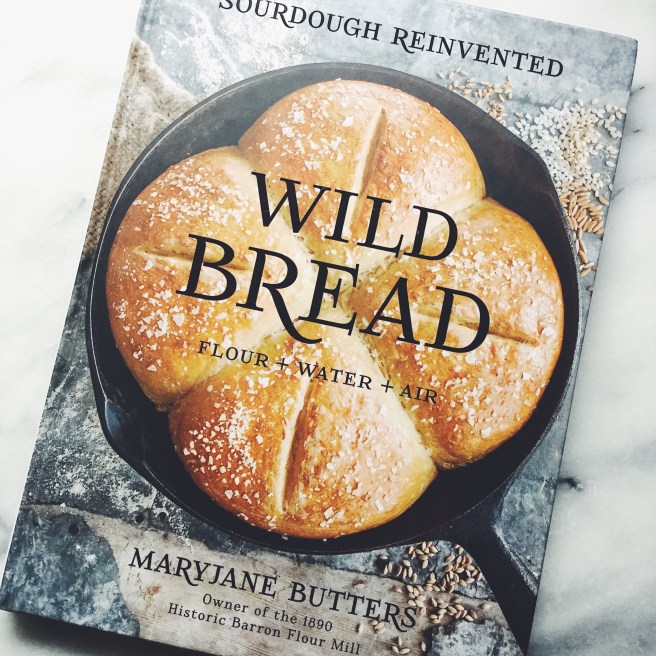
Over the past month I’ve realized something about myself: I’m impatient. I like tasks with a start, quick end, and obvious results. Maybe this is why I’ve never taken to making my own yogurt or kombucha. These tasks require the home cook to be invested in the long game — you won’t be seeing results until healthy, lively organisms are cultured. But if you would have asked me a month ago I would have answered that I’m totally into these kinds of time-heavy kitchen activities. I love being in the kitchen! This is why when I received a copy of MaryJane Butters‘ Wild Bread I was really keen to give making my own sourdough a try.
I got this book back at the end of March (close to the time I was going to visit my family “out west”) and after looking through the initial “Beginner Equipment List” and the steps to growing a “counter mother” I knew I’d need a whole month to properly attend to my starter. So I decided to wait until I had a month to dedicate to sourdough making: 4 weeks of twice-daily feedings and a weekly bake day. After that first month the “counter mother” would be moved to the fridge thus becoming the “refrigerator mother” (by that time the feedings would drop to once weekly, with a monthly bake schedule). I would need to start with the requisite 10 pounds of flour (she offers a selection of 8 types of flour both regular and gluten-free) and a place to grow the starter (in this case you need a bowl, dish, and a perma-damp flour-sack cotton towel — shown in the photo below).
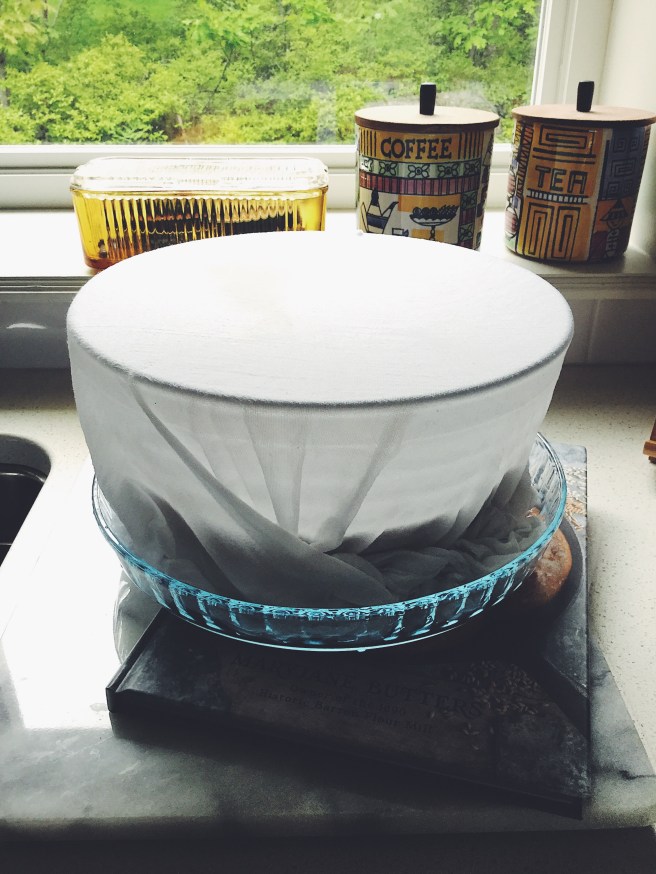
Her equipment list is very specific (even down to the exact brands she uses) and I found that while I owned some of the equipment I did need to purchase a few things. Since I would be dedicating some of this equipment to a whole month of growing a starter I decided to invest in a new 3.75-qt mixing bowl. The one she mentions can be found online but here in Canada the online Canadian price seemed high to me so I got lucky and was able to pick up a 4-qt bowl at my local grocery store on sale for $6. I recommend shopping around for the best prices because inexpensive substitutes can be found. While the list at the beginning of the book is relatively short (less than 15 items) she dedicates a whole section to equipment later on in the book (both regular items and specialty items, such as grain mills, are discussed).
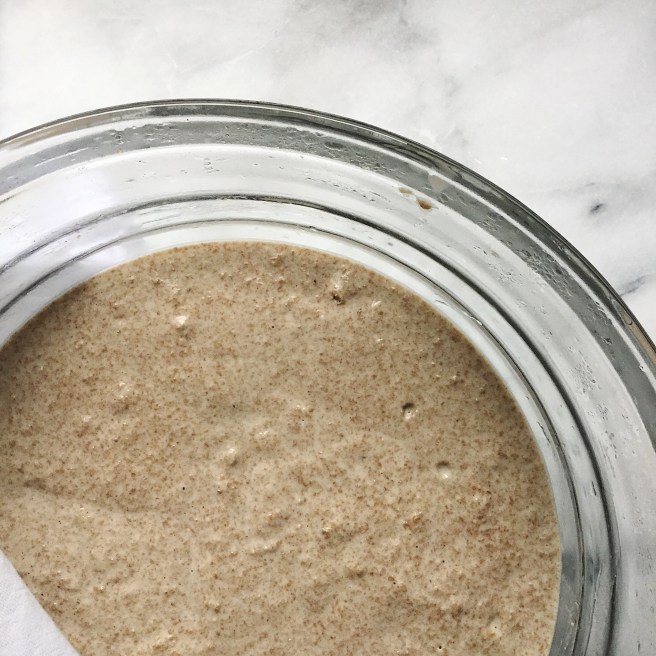
Being completely new to this process I have nothing to compare it to — great for me because I was really open to trying Butters’ method. Her “1 minute 2x/day, 5 minutes on Bake Day” wild yeast method is one that she’s been working on for over the past decade (launched her idea in 2008) and one that’s been developed to be easy for beginner-level bakers. While I’ve found her method simple and easy to follow, it was difficult to stick with it (this is where I realized I’m an instant gratification cook!). The wild yeast is a living thing so a little care and attention is needed to keep it active and healthy — consistency, while it may be “the hobgoblin of little minds” (Emerson!), is completely essential in maintaining your starter. Feedings are consistent as is the day you choose to bake on with little room for spontaneity (the only thing wild thing that happened in the month I grew my starter was the yeast). If you can’t make anything on Bake Day then she suggests freezing 1/2 cup portions of starter to be used as a flavor-enhancer in waffles, pancakes, muffins, and the like. Speaking of flavour my “counter mother” developed that trademark smell (think: vinegar) and the resulting baked goods had that typical sourdough flavour (mine ended up being extra-tangy).

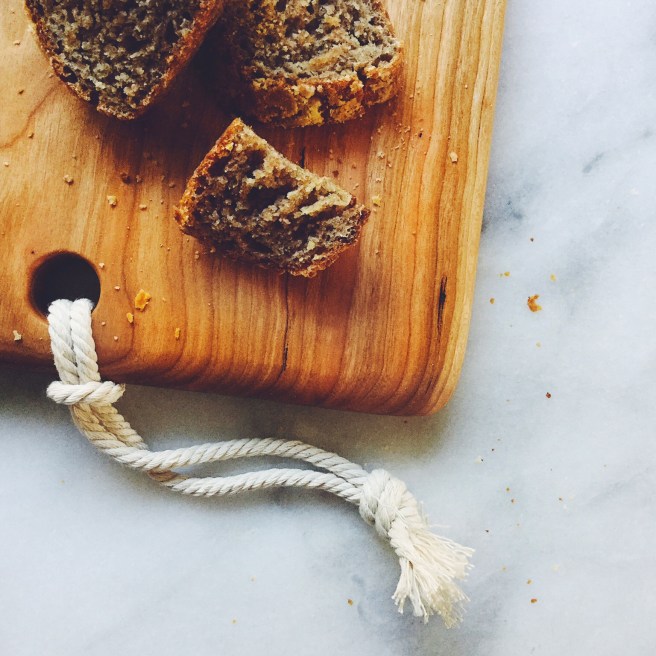
I chose organic sprouted whole wheat flour to start with and while she indicates that distilled water should be used I decided to use my regular tap water. After consulting with one of my husband’s colleagues who is a seasoned sourdough maker (he uses tap water!) I decided that our Nova Scotia water would be okay to use. Each week on Bake Day I would end up with around 8 cups of “batter” (the starter) with 1/2 cup going back into a freshly cleaned bowl and dish topped with a new towel. I know I’ve complained a bit already about the time investment but come Bake Day I found that it was worth it. The first week I made sourdough waffles and in the following weeks I tried doughnuts, muffins, and pizza dough.
Knowing what I know now, a month later, I would have chosen to start with the White-Wheat flour (I’m guessing it would be more lofty) as I found that the one I chose created a really dense bread. Whatever flour you choose to make your starter with will be the flour you use in whichever recipe you make — I went with sprouted whole wheat which meant that along with my sprouted whole wheat starter I would use sprouted whole wheat flour in each recipe. However when I made my doughnuts I chose to use an all-purpose unbleached flour because I was afraid I’d end up with super-dense doughnuts (this was also my first time deep-frying doughnuts and it turned out fine! I didn’t cause a 5-alarm grease fire so I was happy). The doughnuts were delicious, so much so that my visiting mother-in-law took a half-dozen home with her!

The feeding and mixing of the starter was a task that I tried to get my daughter to help with (she’s 4) but it wasn’t one that really interested her. However I think this task would be great for older children! Since Butters’ method is very straight-forward I think that this is a great activity to try with kids. It also gives a person a little more appreciation for the beautiful sourdough boules you buy at bakeries. While it’s not difficult to grow your own starter there is an art to it.
One question you may be asking yourself, dear reader, is what about gluten-free sourdough? She offers recipes for white rice, brown rice, and quinoa flours and while I didn’t try to make any of the gluten-free options I feel like the methodology is very sound and that Butters’ has really tested and refined her recipes so that I think you’d end up with a good example of a gluten-free sourdough bread. Speaking of the recipes she’s divided the book into three main recipe sections: Beginner Breads, Advanced Breads, and Quick & Easy Sourdough-Enhanced Treats (she also offers some historical information and context around her 1890 Historic Barron Flour Mill which I found very interesting). While tending to my “counter mother” during that first month I stuck mainly with the last chapter (the Treats) because the recipes were quick to make (no rise needed for muffins, waffles, etc). At the end of the month I did make her recipe for Beginner Batter Bread and found it was easy to make and turned out the way she described. How good is that?
What’s the verdict? Well, realizing a few things about my personality I think I need to take more time to enjoy the process that goes into making a recipe rather than being so focused just on the end result. After a month of tending to my starter I’m going to start again with a different type of flour and experiment a bit, see what the other flours taste like. My “refrigerator mother” will need weekly feedings and monthly bakes so I’ll continue with that. If you want to follow along with my own personal sourdough journey keep tabs on my Instagram hashtag #eatworthywildbread. I’ll add more pictures to that hashtag as I keep trying new recipes. If you have any experiences with sourdough, advice, or comments I would love to hear them!
I would like to take this opportunity to thank Raincoast Books and Gibbs Smith for providing me with a free, review copy of this book. I did not receive monetary compensation for my post, and all thoughts and opinions expressed are my own.
